Pressure-Treated Deck Installation · CSLB #1060736
Commercial Pressure-Treated Deck Installation in California
We install pressure-treated decks for apartment communities, condominiums, HOAs, and hotels across the Bay Area, Central Valley, and Sacramento. One thing shapes this work more than any other and rarely gets mentioned at the estimate: most pressure-treated lumber arrives wet. What you do about that decides the gaps, the finish schedule, and whether the deck looks right a year later.
- CSLB #1060736 Licensed California contractor
- 9+ yrs Installing commercial treated decks
- Gaps set by moisture Measured on arrival, not copied from a guide
- Commercial & HOA Apartments, condominiums, HOAs & hotels
01 Why it matters
Treated lumber arrives wet, and almost everything follows from that
Pressure treatment forces preservative into the wood in a water-borne solution, so boards come off the truck carrying a great deal of moisture — often visibly damp, sometimes heavy enough that you notice lifting them. That is normal and it is not a defect. What it means is that the boards you install are wider than the boards you’ll have in six months, because they shrink across their width as they dry.
That single fact decides the gap. Install wet treated boards tight, as you would with dry timber, and the gaps open up as the wood dries — sometimes to a width that looks careless and lets more debris through than anyone wanted. Install them with a full dry-timber gap and you end up with wider gaps still. The correct spacing depends on the moisture the boards arrive at, which a crew should be checking rather than assuming, and it’s the difference between a deck that looks deliberate a year on and one that looks like it was built in a hurry.
The same thing governs when the deck can be finished. Stain and sealer need the wood dry enough to accept them; applied to damp treated lumber they sit on the surface, don’t penetrate, and peel within a season. Depending on the weather that wait can run from several weeks to several months, which is awkward on a property that wants the job finished. Two ways around it: kiln-dried-after-treatment boards, which arrive at a workable moisture content and can be finished much sooner, or pre-stained treated decking, which arrives with the finish already applied under factory conditions. Both cost more per board and both remove a delay that owners usually discover after the deck is built.
The gap you leave on wet treated boards is not the gap you’ll have. Getting it right means measuring the moisture, not copying a number.

02 The D&B difference
What a proper installation involves
Moisture checked, gaps set accordingly
We measure what the boards arrive at rather than applying a habit. Wet stock and kiln-dried stock need different spacing, and the deck that ends up looking right is the one where somebody made that distinction.
Hardware rated for treated lumber
Modern copper-based preservatives corrode ordinary galvanised fasteners and connectors. Hot-dip galvanised or stainless throughout, at every hanger, base, bolt and screw — the cheapest insurance on the job and the one most often skipped.
The finish schedule agreed before the deck is built
Whether you’re waiting for the wood to dry, buying kiln-dried, or buying pre-stained is a decision with a cost and a timeline attached. We put it on the table at the estimate rather than raising it after handover.
03 · Service Areas
Where We Work in California
Every city links to a dedicated local page — crews, recent projects and compliance details for that area.
Sacramento Metro
11 cities
East Bay
18 cities
Don’t see your city? We likely still cover it — call (916) 848-2728.
04 How a project runs
How the work runs
-
01
Assessment
Site, spans, load path, and footing conditions; on a re-deck, framing condition and the ledger.
-
02
Material decision
Standard treated, kiln-dried after treatment, or pre-stained, with the cost and the finish timeline for each set out plainly.
-
03
Engineering & permitting
Where spans, loads, connections or the jurisdiction require it.
-
04
Footings & frame
Posts on metal bases clear of grade, joists and beams sized for span, ledger flashed and fastened to current code.
-
05
Hardware
Hot-dip galvanised or stainless connectors and fasteners throughout, compatible with the preservative.
-
06
Boards
Laid with gaps set against measured moisture content, end cuts sealed, joist tops taped.
-
07
Finish & handover
Finish applied when the wood is ready, or documented as scheduled, with a maintenance note covering the renewal cycle.
05 Scope
What’s included
Complete pressure-treated wood deck installation — footings through finish — from one CSLB-licensed crew.
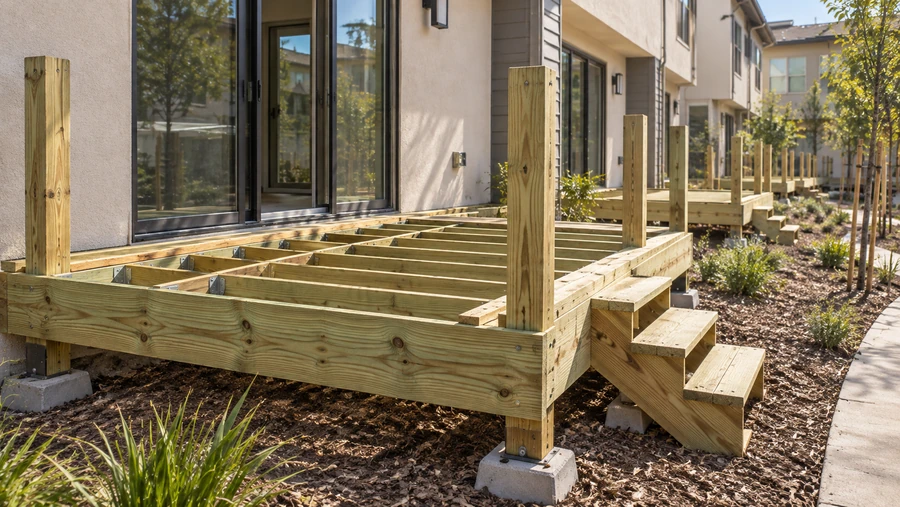
- Site assessment, spans and load path
- Material selection — standard, kiln-dried after treatment, or pre-stained treated decking
- Footings and piers, with posts on metal bases clear of grade
- Frame built for span and load in treated lumber
- Ledger connections flashed and fastened per CBC 1604.8.1
- Hot-dip galvanised or stainless hardware throughout
- Joist tape and flashing over joist tops
- Pressure-treated deck board installation with gaps set to measured moisture
- Field-cut ends sealed with preservative before fixing
- Stairs with code geometry and stringers landing on concrete
- Guardrails to current height and opening requirements
- Finish applied when the wood reaches a workable moisture content
- Maintenance schedule covering the renewal cycle
- SB 721 / SB 326 documentation where the deck qualifies
06 Investment
The cost of pressure-treated deck installation
Quoted after the site is assessed. Treated lumber is the least expensive decking material by a clear margin, and the honest version of the cost includes what comes after the build.
What drives the build cost
- Area, elevation, and footing requirements
- New construction or re-deck, and the condition of an existing frame
- Material grade — standard, kiln-dried after treatment, or pre-stained
- Hardware, which has to be rated for the preservative and costs more than ordinary galvanised
- Stairs, railings, and perimeter detailing
- Number of decks, since a programme prices better per element
- Access and phasing around residents
What the material choice actually buys you: standard treated lumber is cheapest and needs a wait before it can be finished. Kiln-dried-after-treatment costs more per board and can be finished almost immediately. Pre-stained treated decking costs more again and arrives finished. On a single deck the difference is small; across forty units it’s a real number, and so is the cost of sending a crew back months later to stain what’s already built.
The cost of ownership, stated plainly: a treated deck needs cleaning and refinishing on a cycle — in the Central Valley typically every couple of years. That recurring line is the trade for the lower material cost, and it’s worth putting next to a composite quote rather than comparing build prices alone.
Final pricing follows an on-site assessment. Request a free estimate — no obligation.
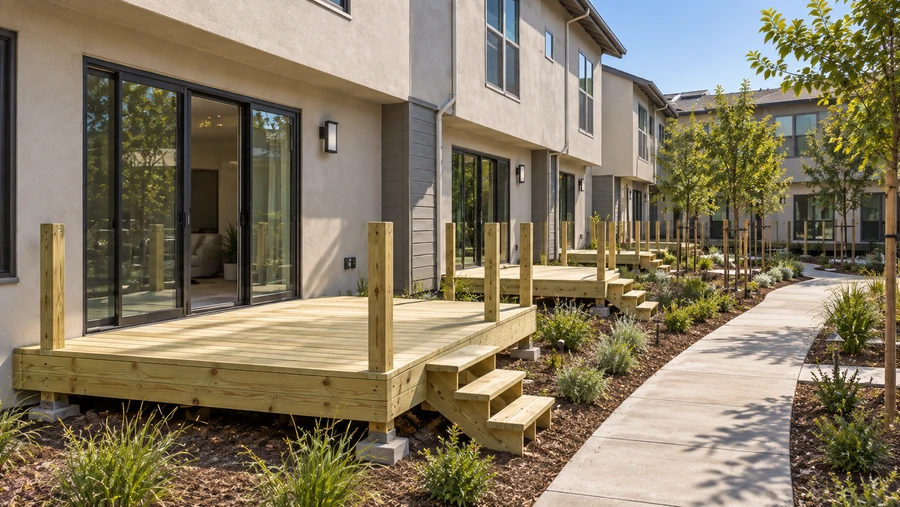
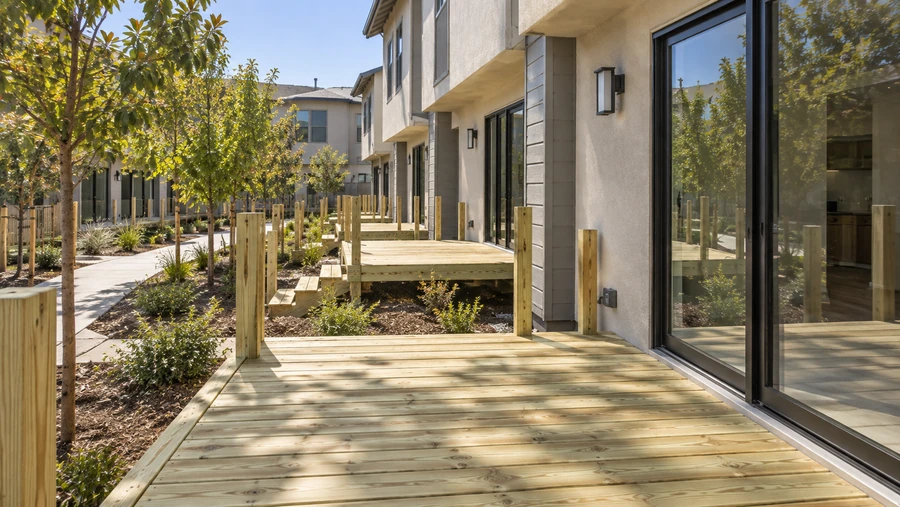
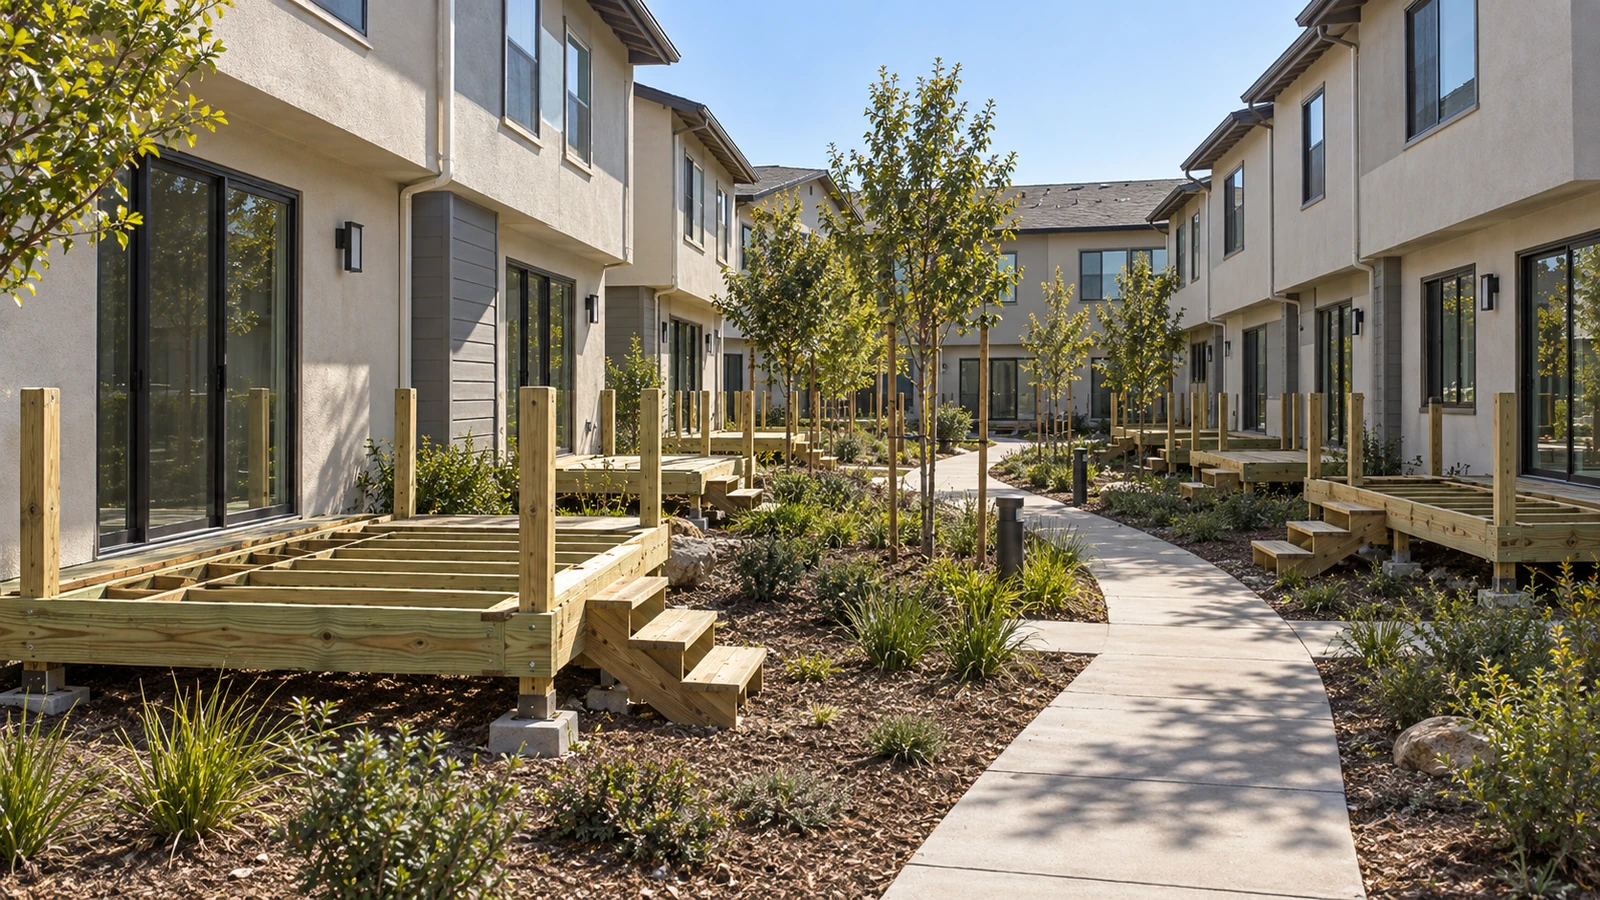
In the field
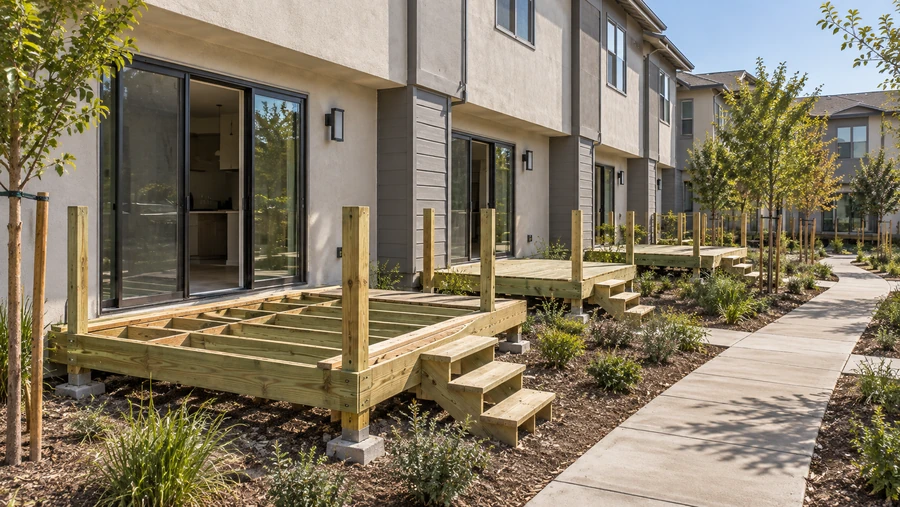
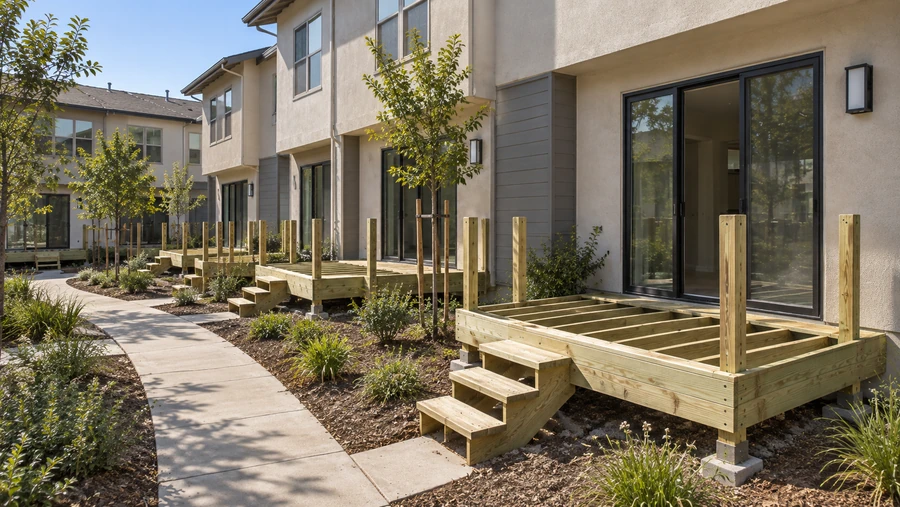
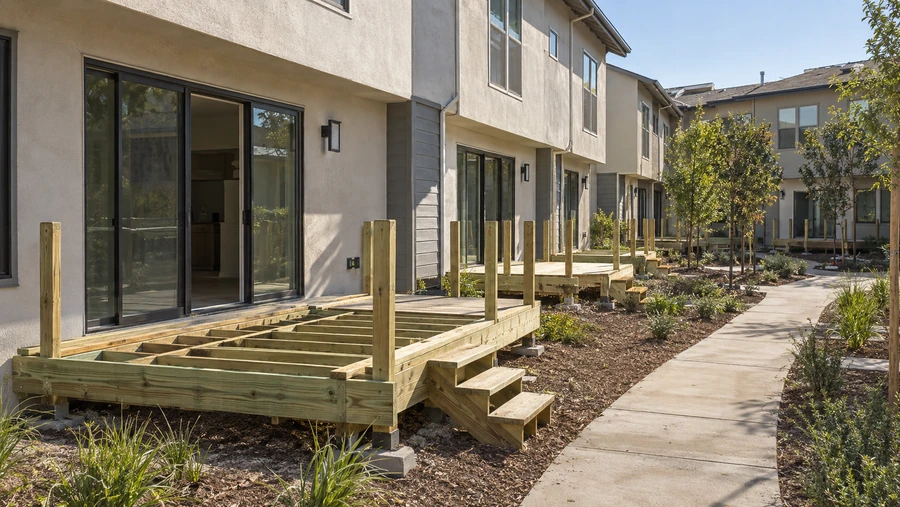
Treated deck detail
Frames, bases and boards across a townhome community.
07 Project example
A recent installation
A community was installing private decks at every ground-floor unit in treated lumber, and the question that shaped the job wasn’t the frame — it was the finish. Standard treated boards would have meant waiting months before anything could be stained, then bringing a crew back across forty units to do it. We priced that against kiln-dried-after-treatment boards, which cost more per foot and could be finished within the same programme. The community took the second option, and the staining happened while the crew was still on site rather than as a separate mobilisation the following year. The boards went down with gaps set against measured moisture, so the spacing is the same now as the day it was laid.
Nobody had told us we’d be waiting months to stain it. Once that was priced properly, the more expensive board was the cheaper project. Regional Property Manager · California townhome community
08 Case studies
Recent Projects, Documented
Real commercial properties — what the building needed, what we did, and what it delivered.
 Deck ConstructionPatio Deck & Post Base Replacement Across a Bungalow Community — San RafaelDeck-by-deck replacement across a courtyard community, driven by the one detail that failed first — posts set straight…View case study
  Deck ConstructionCommunity-Wide Elevated Deck Replacement — San RamonEvery elevated deck across a hillside townhome community rebuilt to a single spec in one managed program —…View case study
  Deck RepairElevated Deck Reconstruction & Waterproofing — 24 Balconies, SacramentoOpen board decks sitting directly over enclosed garages. Every gap between the boards was a route for water…View case study
 09 Client feedback
What property managers say
Nobody had told us we’d be waiting months to stain it. Once that was priced properly, the more expensive board was the cheaper project.
They checked the moisture in the boards before setting the gaps. Our previous decks opened up so wide you could drop a key through.
Every connector was hot-dip. The last contractor used standard galvanised and the hangers were rusting inside two years.
10 FAQ
Questions we get asked
Why does treated lumber arrive wet?
Because the preservative is forced into the wood in a water-borne solution under pressure. The chemical stays; a lot of the water comes with it. Boards often arrive visibly damp and noticeably heavy, and that’s normal rather than a sign of poor stock. What matters is that they will shrink across their width as they dry, and everything about spacing and finishing follows from that.
How wide should the gaps be on pressure-treated deck boards?
It depends on how wet the boards are when they go down, which is why a number copied from a guide is unreliable. Wet stock laid tight will open up as it dries; kiln-dried stock laid tight will stay tight and needs a gap from the start. We measure the moisture content rather than guessing, because the alternative is a deck whose spacing changes after the crew has left.
When can we stain a new pressure-treated deck?
Not immediately, unless the boards were kiln-dried or came pre-stained. Finish applied to damp treated lumber doesn’t penetrate — it sits on the surface and peels within a season. The wait is weeks to months depending on weather and how wet the stock was. The practical test is water behaviour: when drops soak in rather than beading, the wood is ready.
Is pre-stained treated decking worth it?
On a single deck, often not. On a property with many units, frequently yes — because the alternative is bringing a crew back months later to finish decks that are already in service, with all the mobilisation and resident disruption that implies. Pre stained pressure treated decking installation costs more per board and removes a second visit, and that comparison is worth running with real numbers rather than assumed ones.
What hardware does treated lumber need?
Hot-dip galvanised or stainless, throughout. Modern copper-based preservatives corrode ordinary galvanised fasteners and connectors, and the failure happens out of sight at the hangers and post bases where it matters most. The cost difference across a whole deck is small. The consequence of getting it wrong is structural.
Do cut ends need treating?
Yes. Pressure treatment penetrates from the outside in, so every cut exposes untreated wood — and cut ends are usually where the wood meets something wet, at a stringer base, a post bottom, or a joist end. Field-applied preservative on cuts takes seconds and is one of the clearest markers of a crew that knows what it’s doing.
How does the cost of pressure-treated deck installation compare to composite?
Less to build, by a clear margin — treated lumber is the cheapest decking material available. It costs more to own, because it needs cleaning and refinishing on a cycle, typically every couple of years in the Central Valley. Comparing the two on build price alone leaves out the part that recurs, and on a property holding for a decade that part is usually decisive.
Are you pressure-treated wood deck contractors in California?
We’re a CSLB-licensed contractor (#1060736) building treated decks across the Bay Area, Central Valley, and Sacramento on commercial, multifamily, and HOA property. Footings, frame, hardware, boards, stairs and finish come from one crew.
11 Start here
Settle the material question early — free estimate
Tell us about the property and whether the decks need to be finished as part of the build. We’ll price standard, kiln-dried and pre-stained side by side, so the wait for staining is a decision rather than a surprise.
CSLB #1060736 · 9+ years · Insured & Bonded · Commercial, multifamily & HOA properties across the Bay Area, Central Valley & Sacramento